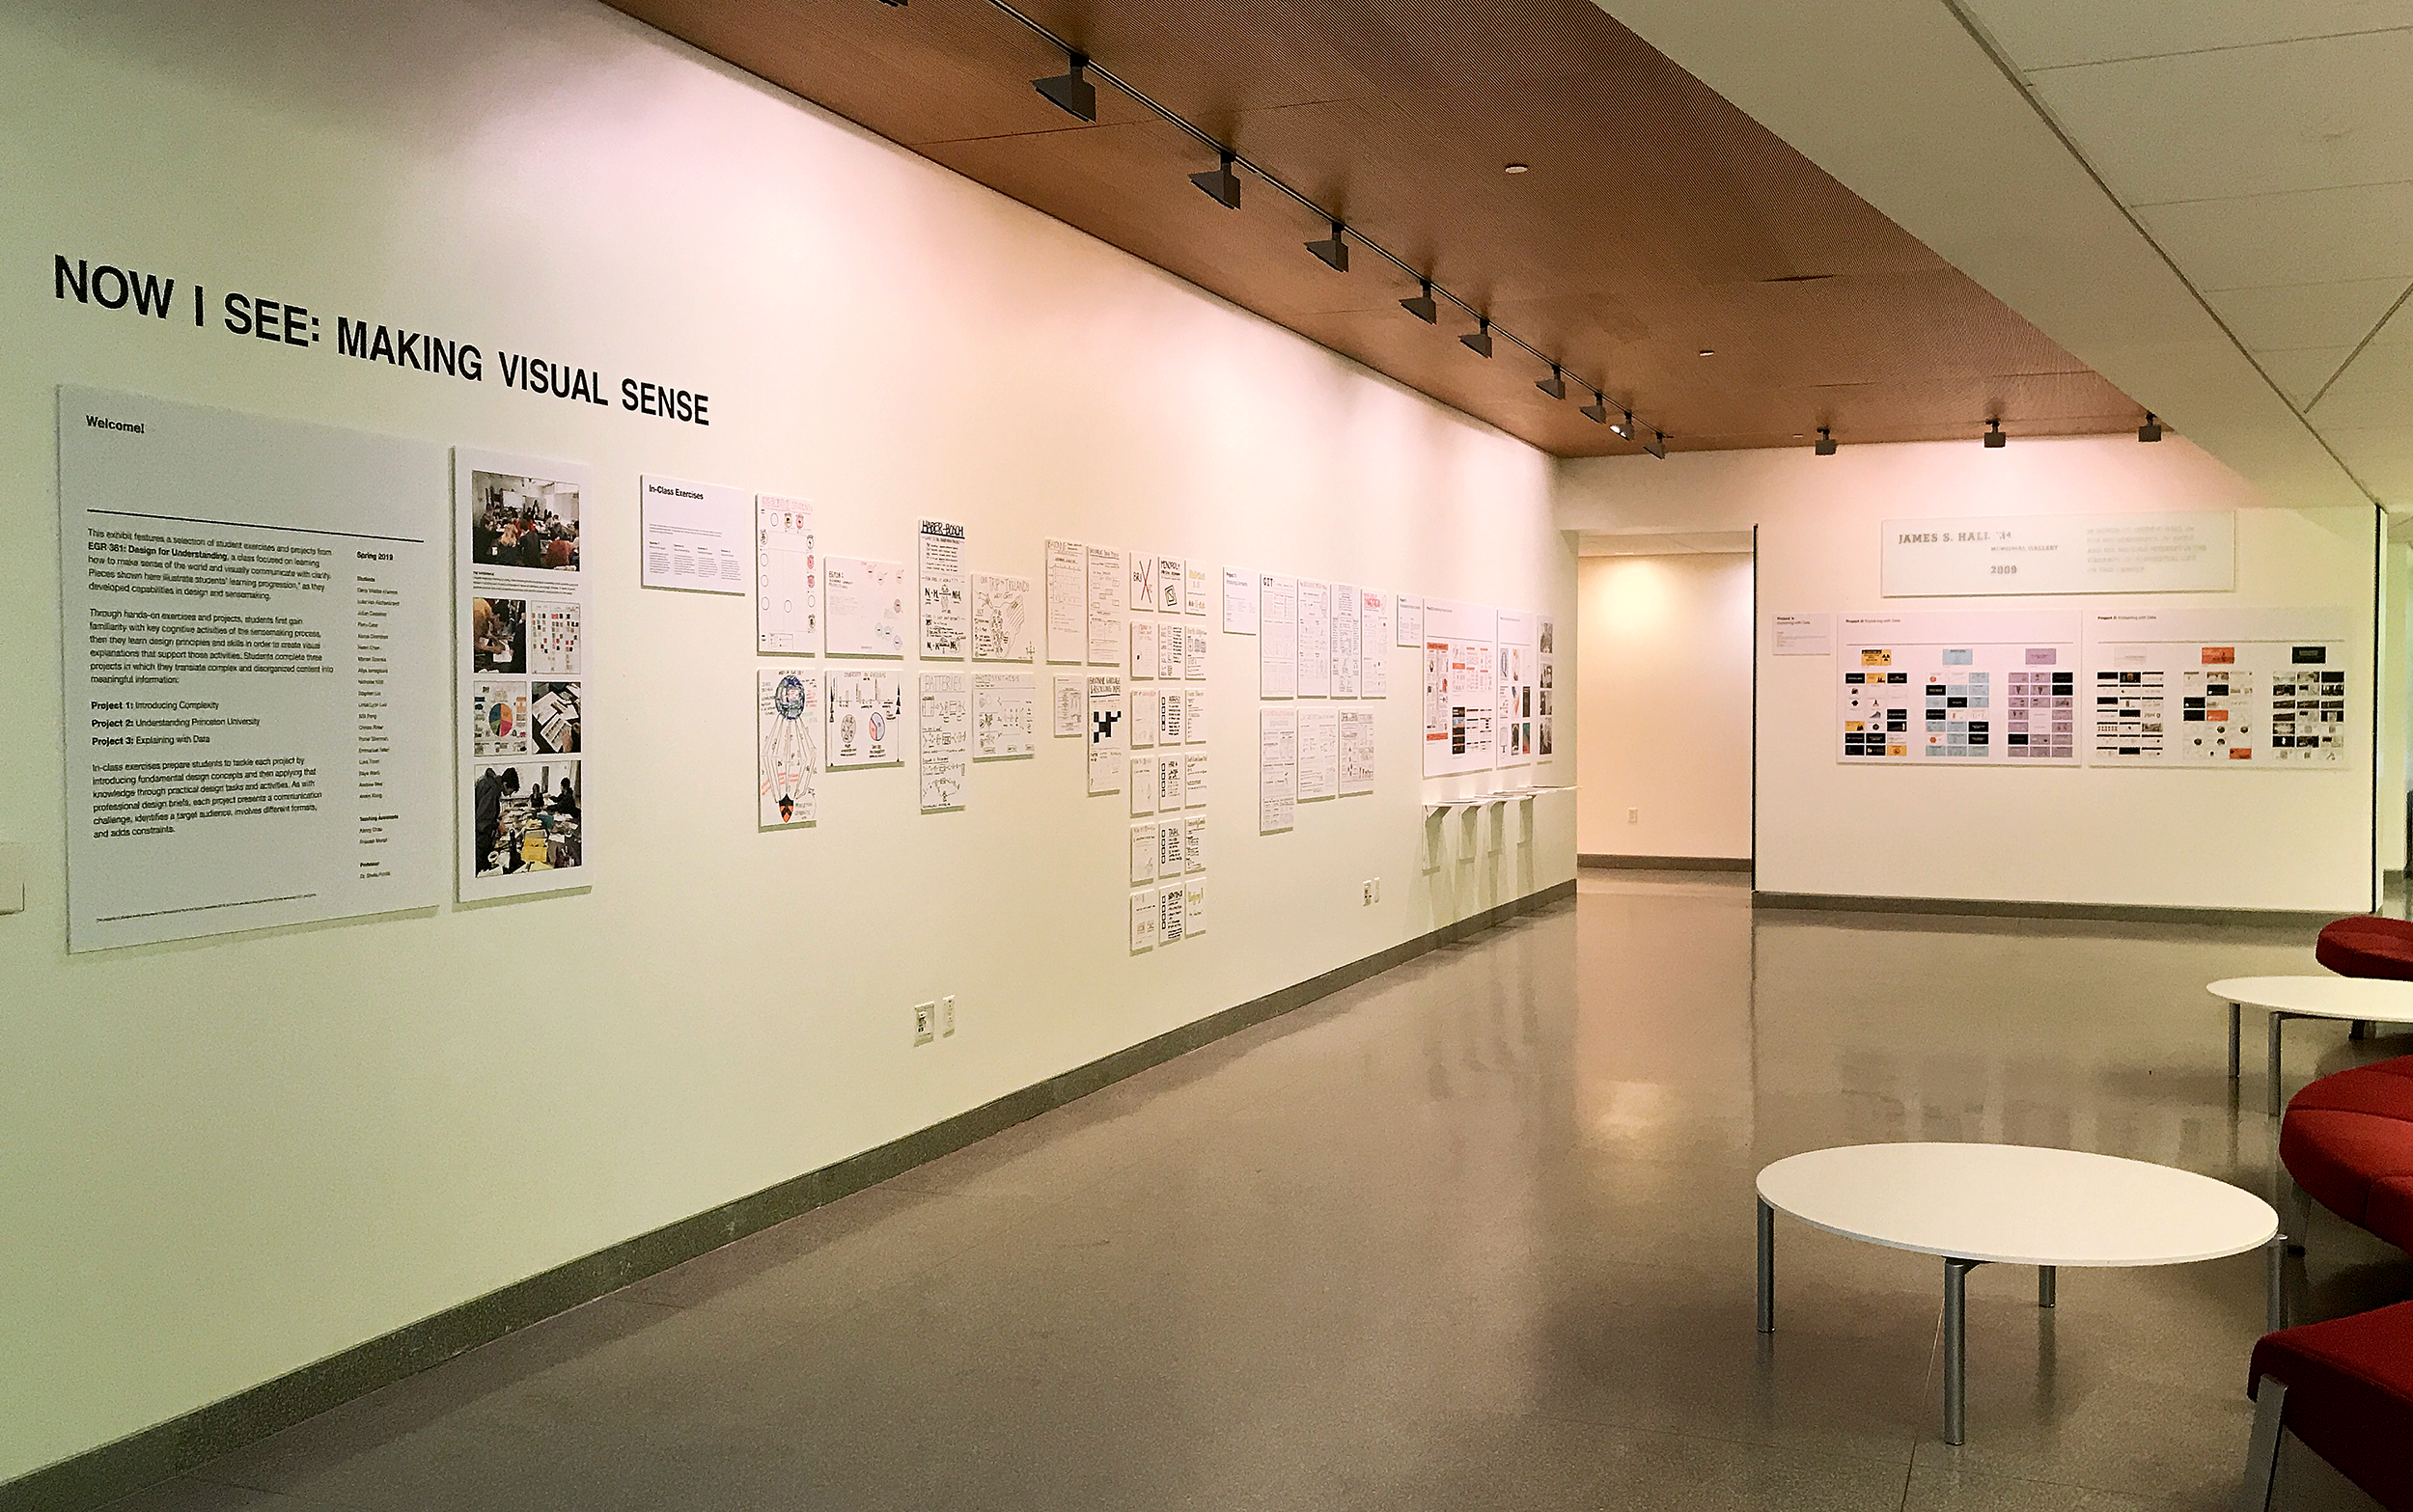
If you are around Princeton, NJ this summer, check out Now I See: Making Visual Sense exhibit! This exhibit features a selection of Princeton students’ exercises and projects from EGR 381: Design for Understanding. This class introduces students to information design, and focuses on learning how visually communicate with clarity. Pieces shown here illustrate students’ learning progression, as they developed capabilities in design and sensemaking.
Through hands-on exercises and projects, students first gain familiarity with key cognitive activities of the sensemaking process, and then they learn design principles and skills in order to create visual explanations that support those activities.
Throughout the semester, students complete three projects in which they translate complex and disorganized content into meaningful information:
- Project 1: Introducing Complexity
- Project 2: Understanding Princeton University
- Project 3: Explaining with Data
In-class exercises prepare students to tackle each project by introducing fundamental design concepts and then applying that knowledge through practical design tasks and activities. As with professional design briefs, each project presents a communication challenge, identifies a target audience, involves different formats, and adds constraints.
Exhibition Details: Princeton University, James S. Hall Memorial Gallery at Butler College, during May – July
Curating the exhibit: The Process
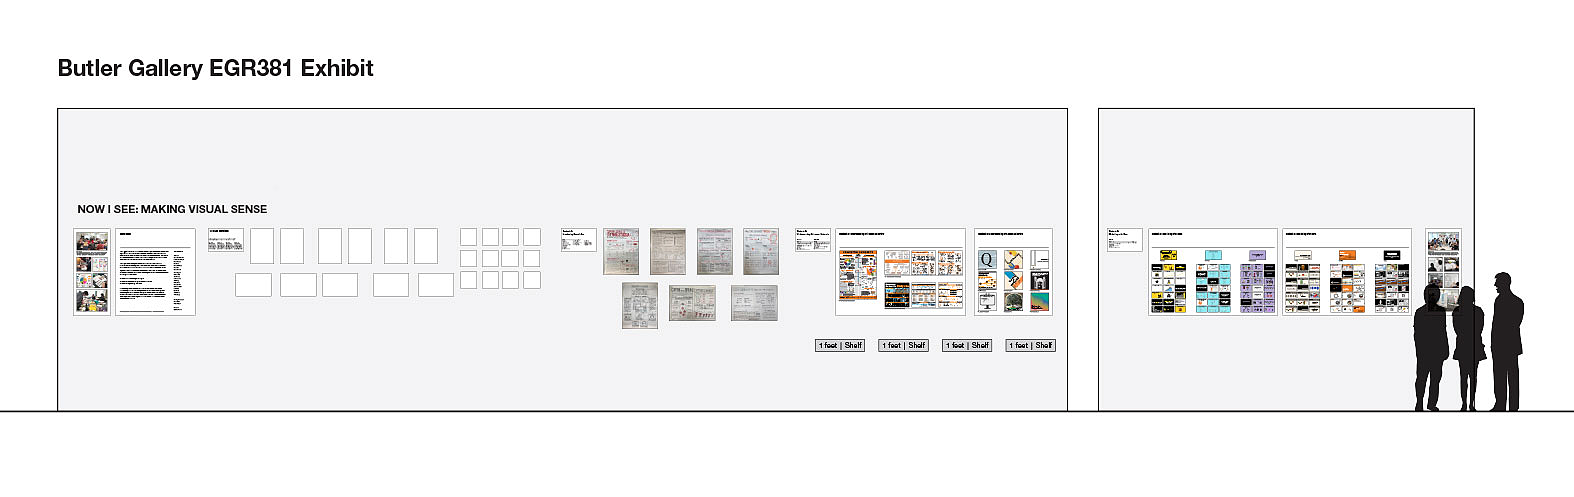
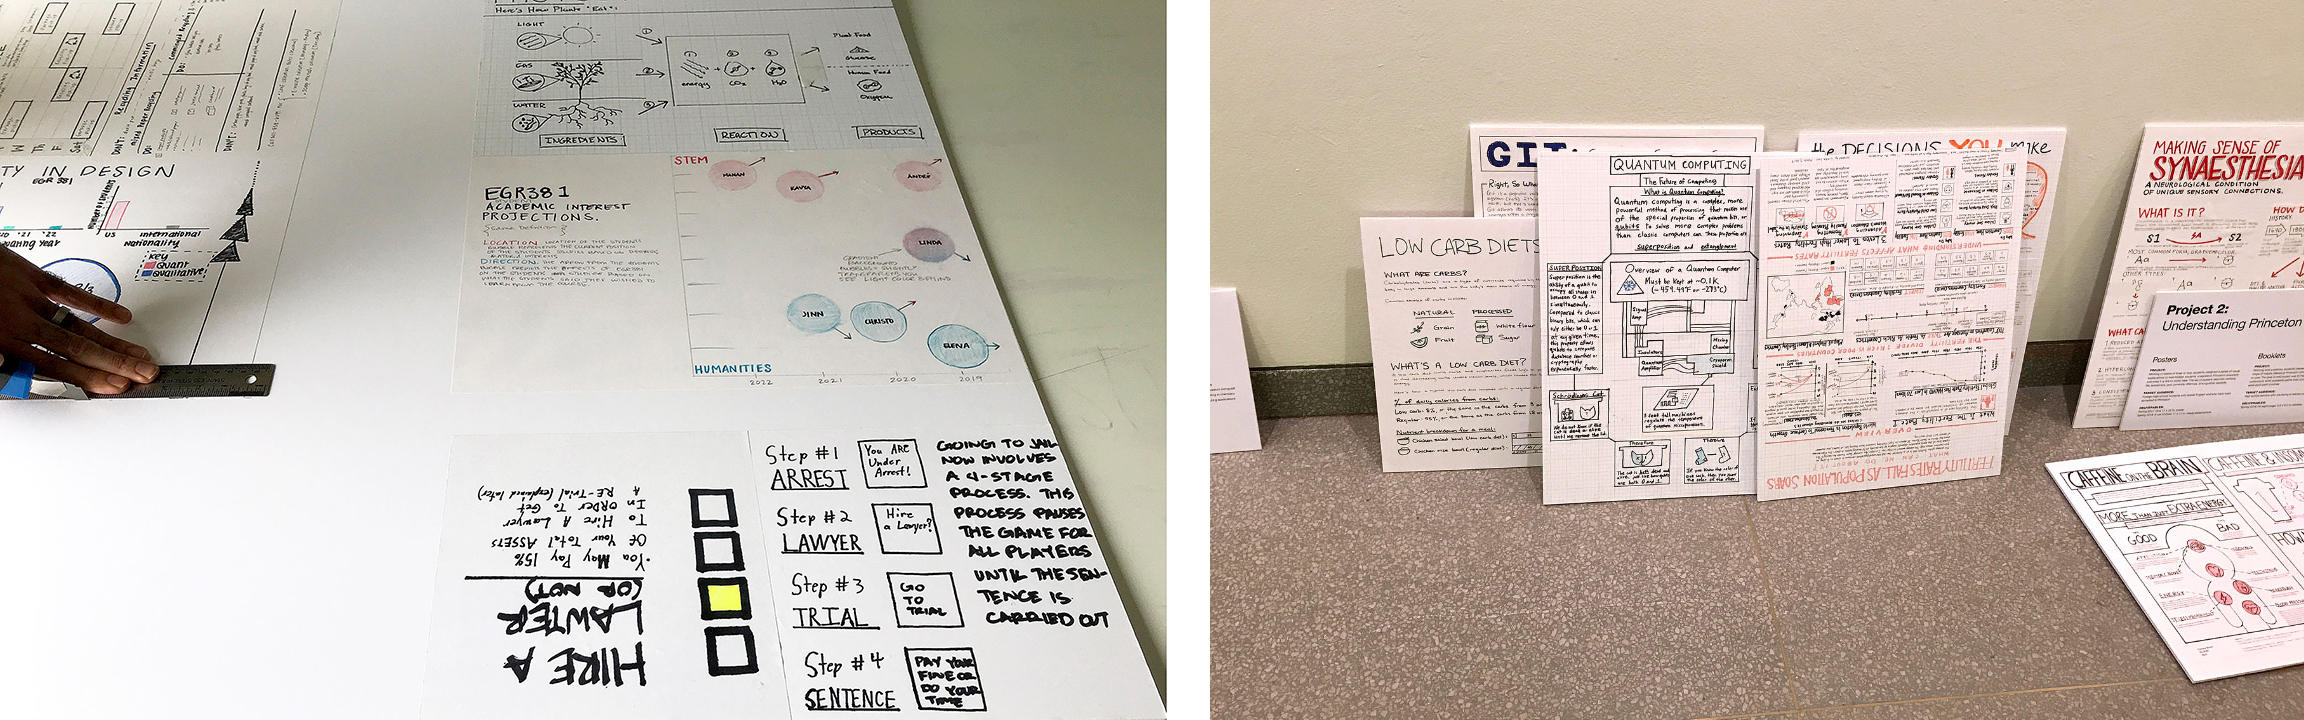
The biggest challenge of putting together this exhibit was deciding what to show and how to show it. On the one hand, each semester, the class generates more than 100 pieces. On the other hand, while some work is digital, other pieces are artifacts, like booklets, and others are handmade, original pieces, like games and posters.
In other words, we had to deal with quantity and diversity. We also had to work around the constraints of time, space and budget , which play an important role in curating an exhibit. Below is a summary of our curation process.
1. Selecting and Organizing
The first task focused on narrowing down the visual material and finding a way to showcase different formats. Once we had the gallery dimensions, we were able to start brainstorming layouts and possible ways of using the space. We decided to reuse shelves from a previous exhibit to display the booklets and to print large size panels to display digital work. Handmade artifacts will be mounted on the wall.
2. Mounting and Getting Ready
Once we designed and sent panels to the printer, we focused on the selection of handmade artifacts. We selected projects that show diversity and creativity, but also that help illustrate students’ progression in the class. Next step was mounting and trimming.
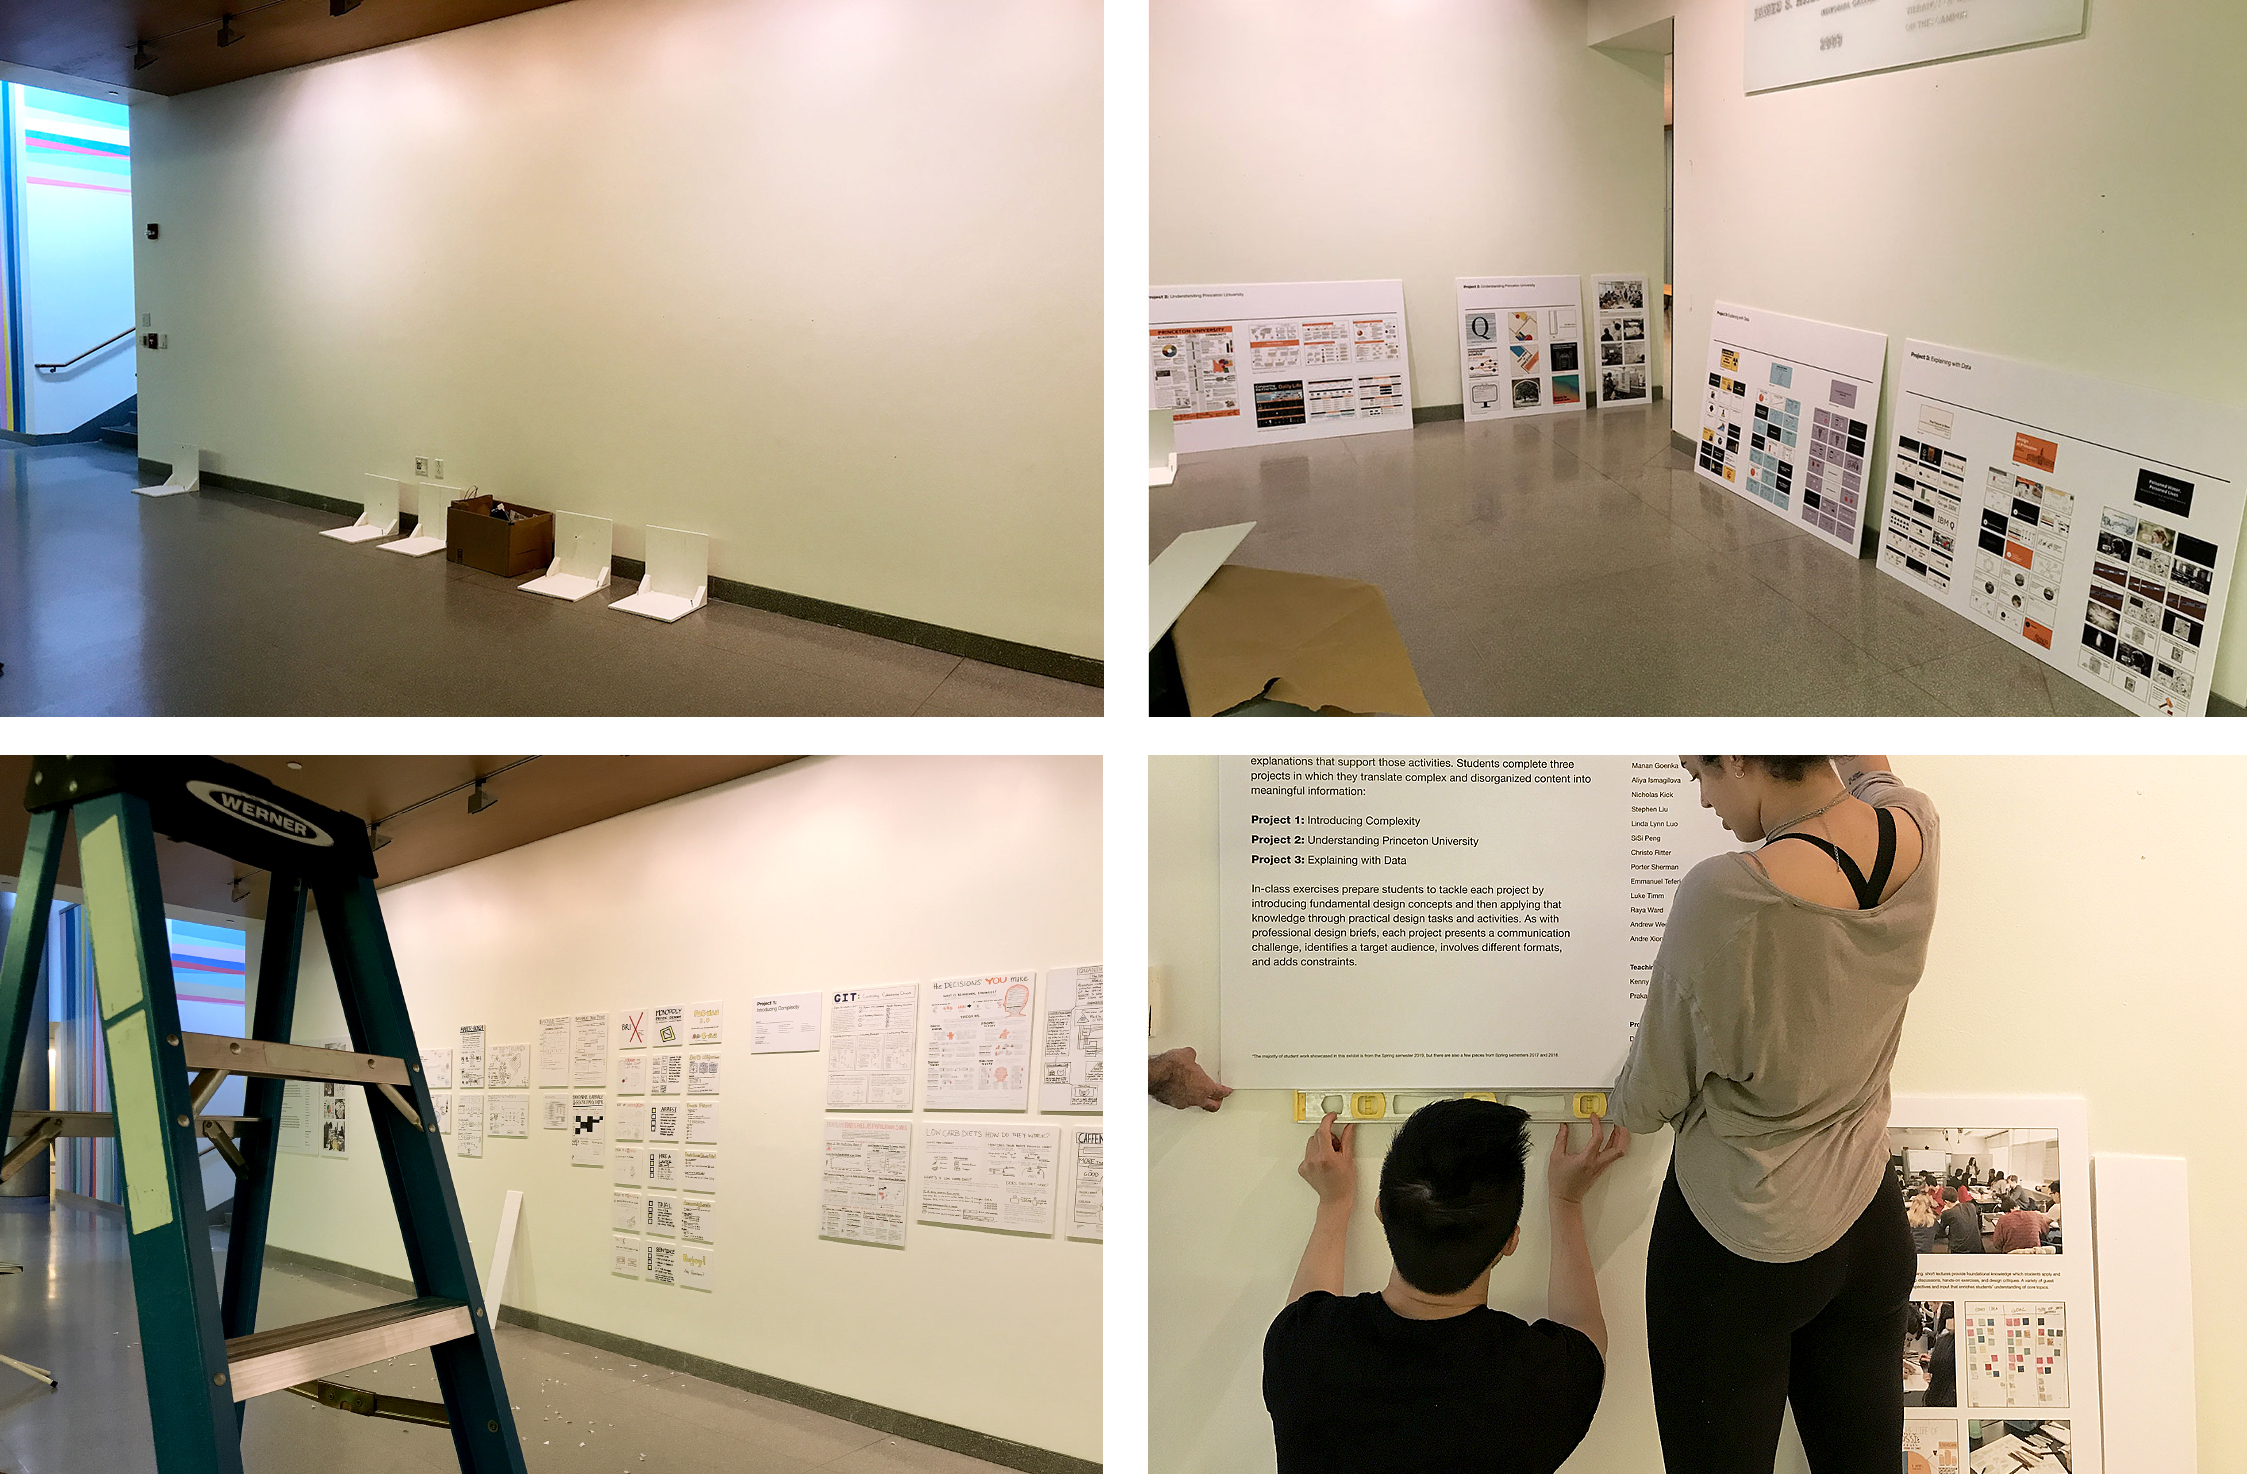
3. Setting up the exhibit
The exhibit blueprint was our compass to organize panels and pieces on the walls. We first placed each piece in their respective location to make sure we had enough space to hand everything we wanted to showcase. Then prepared each piece to be hung on the wall. After, mounting panels and drilling shelves to the wall, the final step was adding the name of the exhibit with vinyl letters.
Leave a Reply