
As an information designer, visuals–such as colors, shapes, and graphic elements–play a key role in both my teaching prep and my classes as they help me think, uncover connections, see hidden parts in a story, and work more collaboratively with students and teaching assistants. Particularly, since I have started teaching design to a non-design audience, visuals have become an essential aid to help me anchor explanations of abstract concepts, provide examples, and create an active classroom experience.
Design education is changing. Nowadays, design educators have to develop different ways to communicate design concepts and principles to audiences with different needs and interests. To adapt to this new scenario, I have minimized the use of technology in the classroom (yes, this may sound like a paradox in the age of technological boom!), like conventional slides, and replace it for the use of whiteboards and flipchart paper as my “screens”. Here I describe one approach that design educators could use to teach design concepts and methods to non-expert audiences.
Ephemeral visual explanations
While I have always used the whiteboard to write core concepts and lists of key terms I will cover in class that day, a few years ago I started to combine materials””like flipchart paper, index cards, post-it notes, and the physical space””with information design principles to create visual explanations to support a wide range of learning goals. I call this type of visual explanations ephemeral because their main goal is to last for the duration of the class.
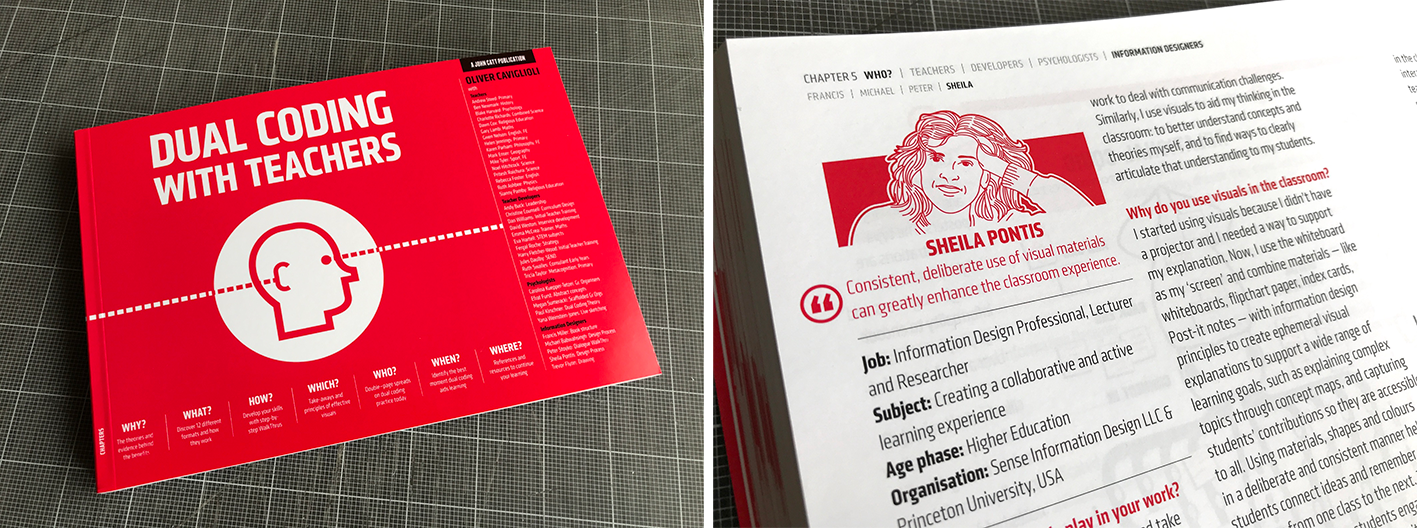
I create this type of visual explanations either on whiteboards or using two or three flipchart sheets of paper side-by-side as my writing surface. I provide more details about this approach and the process I follow to create these visuals in my contribution to the recently published book: Dual Coding with Teachers by Oliver Caviglioli (2019).
This approach has helped make the learning process more effective, specially, when teaching technical or specialized concepts to an audience with no familiarity with the subject matter. Unlike the use of slides to explain a concept, these visuals provide guidance that students can access at any time and interact with. What is more, using a color or graphic element greatly increases the effectiveness of these visuals as this helps make abstract content more tangible and memorable. At the end of class, I post sheets of flip-chart paper with summaries of concepts covered in a dedicated corner of the classroom that I use as a parking lot. During the semester, students can refer to key class concepts when needed.
Some examples of ephemeral visual explanations I have created are:
- to explain how to use a specific research or visual method, such as empathy maps, affinity diagrams, project maps
- to provide clear instructions for in-class exercises, indicating sequence of actions that need to be completed so students have a better sense of the tasks they have to do and the time involved in each task.
- to organize students’ contributions
- to capture class learnings
Interestingly, in some cases, students’ responses to class exercises help expand and complete a visual. This collaborative aspect of the approach helps keep students engaged in class discussions and lectures without the use of technology or digital devices.
At the end of class, students often document the learning experience by taking a photo, which provides a framework for later reference.
Rough, but clear and consistent
The visual quality of what I create isn’t important. Resulting visual explanations are meant to be rough””for example, it takes me 10-15 minutes to put some of the visuals together””and working documents in constant evolution. What really matters is:
- being clear about what you need to convey to the students
- using materials, shapes and colors in a deliberate and consistent manner to help students connect ideas and remember concepts from one class to the next.
Actively using visuals in the classroom has helped me develop a more interactive class setting and collaborative teaching style where visual explanations are modified based on the class’s needs.
Leave a Reply